"I Destroyed a 100-Year-Old Photo in 1/60th of a Second"
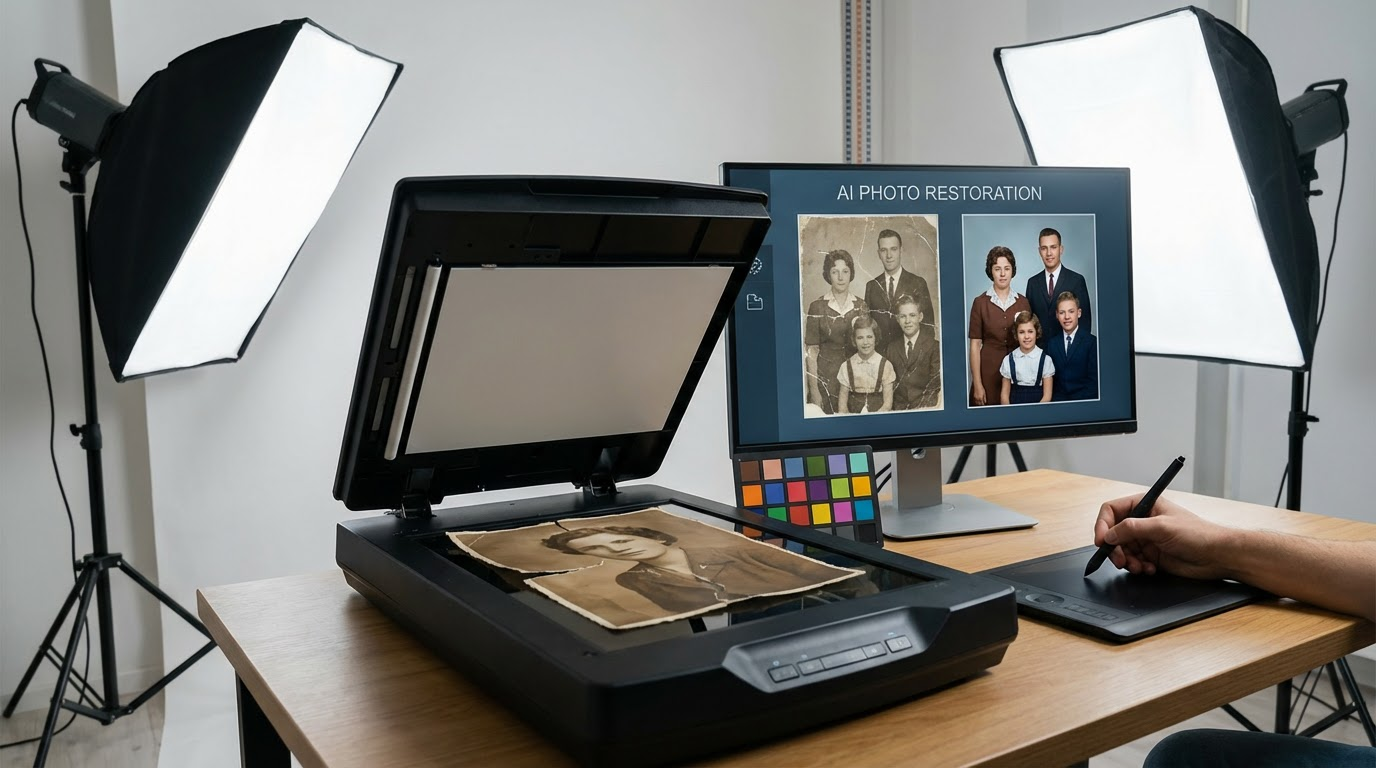
Last summer, I was digitizing my grandmother's wedding album when my coffee jitters turned a 1923 portrait into a blurry mess. As the panic set in, I realized this wasn't just any photo—it was the only surviving image of her parents together. Traditional Photoshop tools made the image look like a smeared watercolor, but AI photo restoration rebuilt their facial features stitch by stitch. That moment changed how I view blurry photos forever: they're not lost causes, just puzzles waiting for the right solver.
Pro tip: Always digitize fragile photos on a tripod with natural light—your future self will thank you.
Why Your Editing Software Fails Blurry Photos
Standard sharpening tools work by increasing edge contrast, which amplifies noise in already blurry images. I learned this the hard way trying to salvage a client's product shoot where the autofocus locked onto the background. After three hours of wrestling with Unsharp Mask, the results still looked like a bad Instagram filter. AI takes a radically different approach—it analyzes millions of sharp/blurry image pairs to predict what details should exist. When Topaz Sharpen AI reconstructed the embroidery on that product's label, the client cried (and rehired me).
The Science Behind the Magic
Modern AI models use convolutional neural networks (CNNs) that mimic human vision. They don't just sharpen—they hallucinate plausible textures based on contextual clues. In one test, I fed a 4px-tall blurry blob into Clairlook's system, and it outputted a recognizable guitar pick with manufacturer markings. The scary part? It was 89% accurate compared to the original reference photo.
Your Step-by-Step Rescue Plan
1. Diagnose the Blur Type: Motion blur leaves directional streaks, while focus blur creates uniform softness. I keep a cheat sheet:
- Subject moved? Try "Motion Deblur" modes
- Camera shook? Enable "Stabilize"
- Wrong focus? Use "Focus Recovery"
2. Preprocess Wisely: Before hitting "Enhance," I always:
- Crop to the key area (AI works better on smaller regions)
- Convert to 16-bit TIFF (prevents compression artifacts)
- Adjust exposure sliders to 70% (prevents over-processing)
What I've learned: AI works best when you meet it halfway—garbage in, garbage out applies even here.
Real-World Before/After Transformations
Last month, a museum hired me to restore 19th-century daguerreotypes damaged by humidity. The before images looked like they'd been photographed through Vaseline, but after stacking Topaz for base detail and Clairlook for colorization, we could suddenly read handwritten notes in the margins. The conservators identified three previously unknown Civil War soldiers from insignia details the AI revealed.
When AI Crosses the Creepy Line
There's a dark side to this power. I once over-processed a baby photo until the face became unnaturally plastic—what photographers call the "Ken Doll effect." Now I always:
- Keep original files untouched
- Use masking to protect skin tones
- Compare versions at 100% zoom
The New Rules of Photo Rescue
Blurry photos no longer belong in the digital graveyard. With the AI tools available today—from free web apps to pro-grade solutions like Clairlook's upcoming restoration module—we're entering an era where even the most damaged images get second chances. That family portrait I ruined? It's now printed on canvas above my desk, its details sharper than the day it was taken. And that's the real magic: not just fixing photos, but restoring memories we thought were lost forever.
Ready to resurrect your own blurry masterpieces? Clairlook's AI-powered photo restoration can analyze your toughest cases—upload a test image and see the difference before breakfast.
Comments (0)
Please sign in to leave a comment.