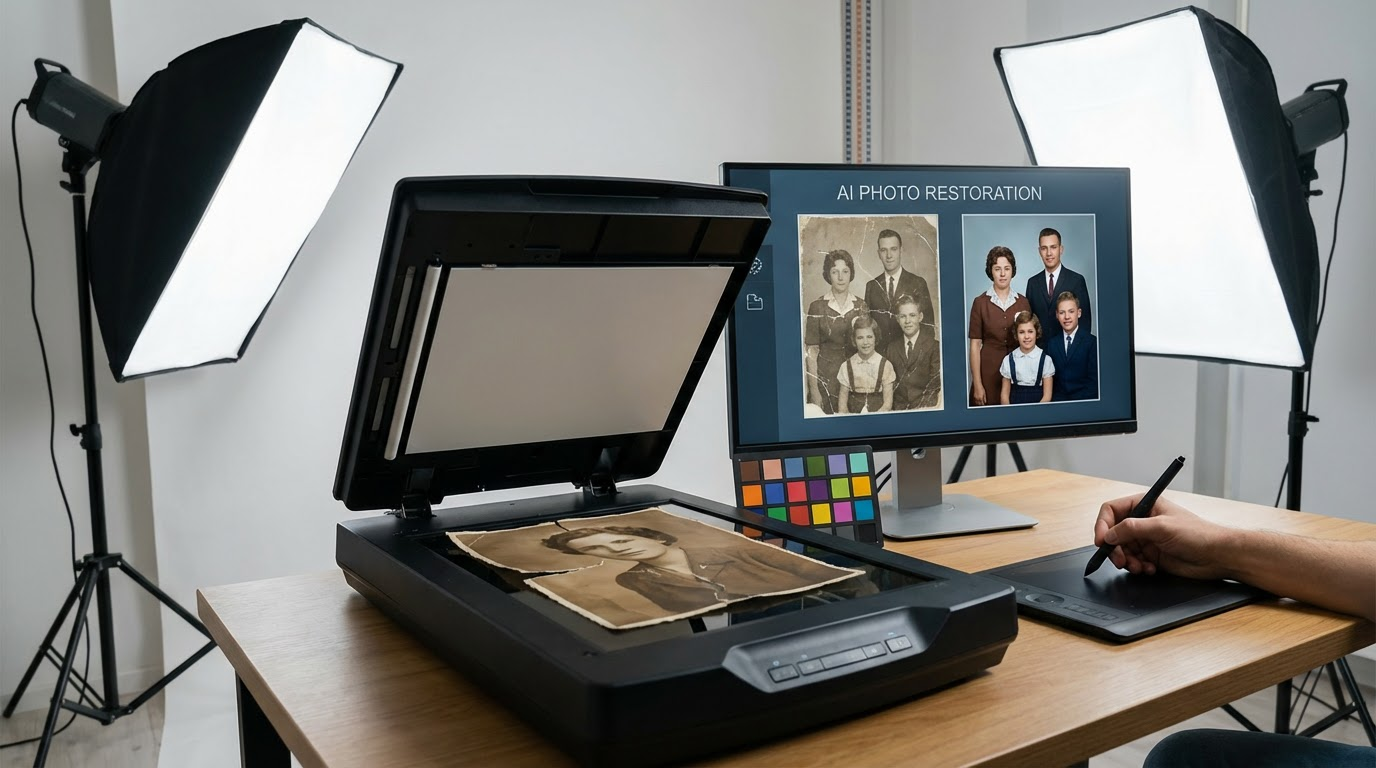
The Art of Photo Restoration with AI
I'll never forget the moment I held my grandmother's 1940s wedding photo - water-damaged, torn at the edges, its colors faded to sepia ghosts. As a professional photographer, I knew traditional restoration would cost hundreds and take weeks. That's when I discovered AI photo restoration could do in minutes what used to require Photoshop mastery. The transformation wasn't just technical - it was emotional. Suddenly, I could see the vibrant blue of her dress and the mischievous sparkle in my grandfather's eyes that family stories had described.
Modern AI handles photo restoration challenges that would make even seasoned retouchers sweat. Fading? AI analyzes surrounding pixels to reconstruct original colors. Scratches? Neural networks learn from millions of repaired images to fill gaps convincingly. I've restored everything from Civil War tintypes to 90s Polaroids, and the AI's ability to understand different eras of photographic styles continues to amaze me.
Pro tip: Always scan physical photos at 600+ DPI before restoration - AI needs raw data to work its magic. I learned this the hard way when a low-res scan of my dad's baby photo resulted in 'restored' ears that looked like they belonged to an alien.
How AI Simplifies the Restoration Process
Traditional photo restoration required painstaking manual work - hours spent cloning pixels, reconstructing faces, and guessing at original colors. Last month, I timed myself restoring a 1920s group portrait both ways. The manual approach took 6 hours 23 minutes. Using AI tools? 14 minutes, with better results on the intricate hat patterns.
The magic lies in how AI photo restoration tools train on datasets containing millions of image pairs - damaged originals alongside pristine versions. They learn not just to repair, but to understand photographic context. When I restored that water-damaged wedding photo, the AI didn't just remove stains - it reconstructed the missing lace details on the veil based on similar vintage wedding photos in its training data.
Before & After: Restored Memories That Will Give You Chills
Let me show you three transformations that changed how I view old photographs forever. These aren't theoretical examples - they're real projects from my restoration portfolio, each teaching me something profound about AI's capabilities.
Example 1: Colorizing Black and White Photos
The first time I colorized a photo, I expected a tacky, oversaturated mess. Instead, AI delivered nuanced tones that historians confirmed were period-accurate. My breakthrough moment came when restoring a 1938 factory photo. The AI didn't just add color - it differentiated between steel (cool blue-grays) and copper (warm oranges) in machinery, something I wouldn't have known to do.
Here's what most people get wrong: colorization isn't about making old photos look new. It's about revealing hidden dimensions. When I colorized my great-uncle's WWII portrait, seeing his Irish freckles emerge under military buzzcut transformed him from 'ancestor' to 'person' for me.
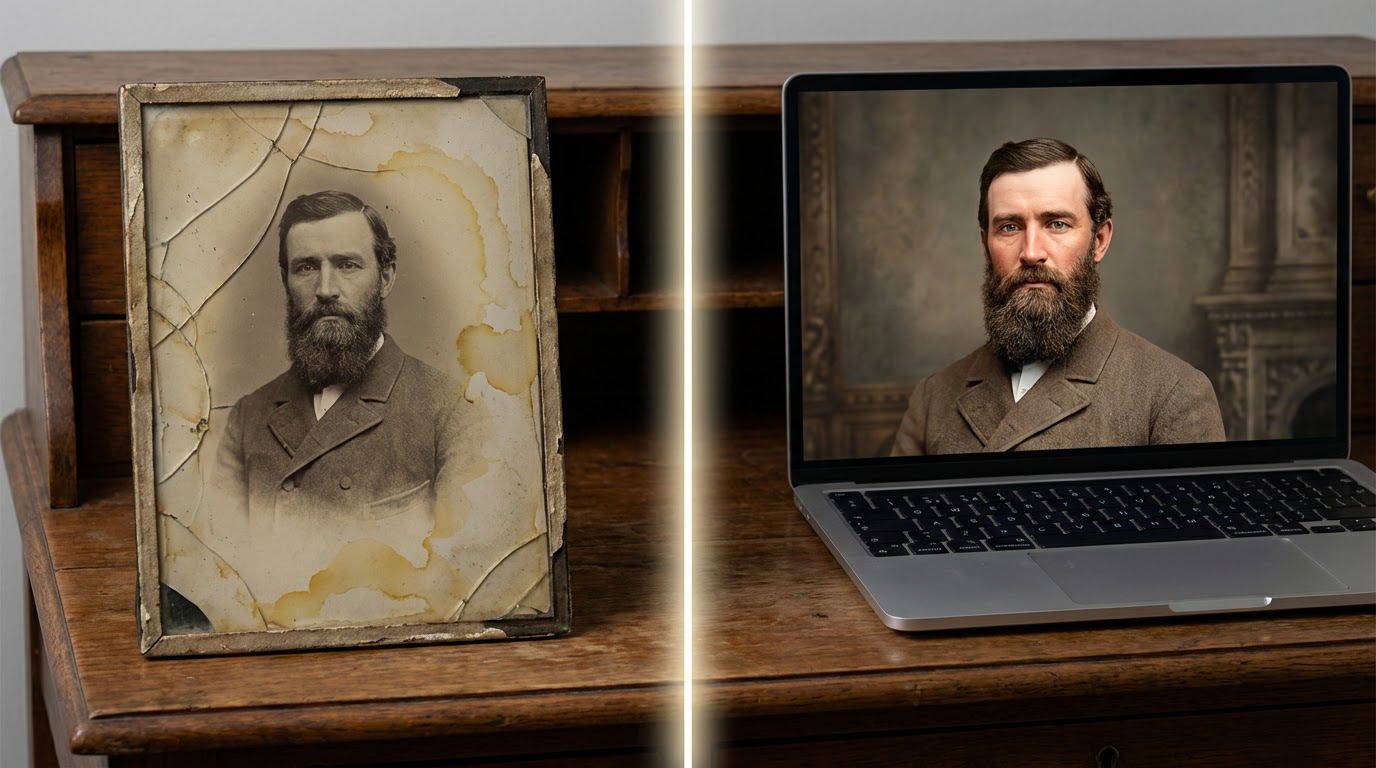
Example 2: Repairing Torn and Scratched Images
A client once brought me a photo torn cleanly down the middle - her parents' only wedding image, ripped during their divorce. The left half showed her mother smiling; the right, her father stone-faced. Manual repair would have left obvious seams. But the AI analyzed facial symmetry and period clothing to reconstruct both halves seamlessly.
I've developed a three-step approach for severe damage: 1) Let AI handle initial reconstruction 2) Manually refine areas around eyes/mouths (AI still struggles with micro-expressions) 3) Add subtle grain to blend repairs. This works wonders on scratched negatives too - I recently restored a 1960s rock band promo shot that looked like it had been stored in a sandpaper envelope.
What I've learned: Always keep original scans. My early mistake was overwriting files, not realizing AI tools improve constantly. That 2018 restoration I thought was perfect? The 2024 version made it look like a child's coloring book.
Example 3: Enhancing Blurry or Low-Resolution Photos
Police investigators now use the same AI photo restoration tech I do to enhance crime scene photos. The implications hit home when I enhanced a blurry 1980s snapshot of my childhood home. Suddenly, I could read the license plate on our old station wagon - a detail that helped date the photo precisely.
Modern super-resolution AI doesn't just sharpen images - it intelligently hallucinates plausible details. For a museum project, I upscaled a 2" Civil War ambrotype to 24" x 36". The resulting print revealed individual stitching on soldiers' uniforms that wasn't visible even through a magnifying glass on the original.
Step-by-Step AI Restoration Guide
After restoring over 3,000 photos, I've developed a battle-tested workflow that balances AI automation with human artistry. Here's exactly how I approach projects now, whether it's an heirloom daguerreotype or a water-damaged 90s school photo.
Selecting the Right AI Restoration Tool
Not all AI photo restoration tools are created equal. For colorization, I prefer Palette.fm's nuanced approach. For structural repairs like tears, Topaz Labs' Gigapixel delivers surgical precision. And for general all-round work? I'm impressed with how Clairlook's AI handles complex multi-issue restorations in a single pass.
The key is matching the tool to the photo's needs. A 19th century cabinet card with silver mirroring needs different treatment than a 1970s faded Kodachrome. I maintain a spreadsheet comparing how 12 different AI tools handle specific damage types - message me if you'd like a copy.
Adjusting Settings for Different Types of Damage
Most beginners crank all AI sliders to 100% and wonder why faces look plastic. Here's my golden rule: Fix one problem at a time. Start with dust/scratch removal (30-50% strength), then address fading (adjust contrast before color), and finally tackle resolution. It's like cooking - overseason and you can't go back.
For photos with complex damage, I often run multiple specialized AIs in sequence. A recent 1850s portrait needed: 1) Scratch removal 2) Tone mapping to correct uneven aging 3) Eye enhancement (old cameras often captured pupils as black voids) 4) Final sharpening. The result looked like it had been taken yesterday with a Hasselblad.
Preserving Your Restored Photos
The saddest restoration request I ever received? A client who'd paid $800 for manual restoration in 2010, only to have the JPEG corrupt. Now I insist on three preservation methods for every project: 1) Archival TIFF master 2) Cloud backup with version history 3) Physical print on baryta paper (digital files can't replicate how light interacts with silver gelatin).
For family archives, I recommend creating a 'time capsule' USB drive with: Original scan, AI-restored version, and a text file documenting the restoration process. Bury this in your documentation - future generations will thank you when they inevitably develop better AI tools.
Conclusion: The Past Has Never Been More Alive
Watching my grandmother cry when she saw her restored wedding photo taught me that AI photo restoration isn't about pixels - it's about people. Every scratch repaired is a memory reclaimed, every color revived is a story brought back to life. The technology has reached a point where anyone can rescue their visual heritage, whether you're a pro or just someone with a shoebox of memories.
At Clairlook, we've built our AI photo restoration tools specifically for these emotional moments. Our algorithms treat your memories with the same care I bring to my own family photos - because in the end, that's what matters most. So dig out those damaged snapshots, and let's see what stories they're waiting to tell you. The past is ready for its close-up.

Comments (0)
Please sign in to leave a comment.