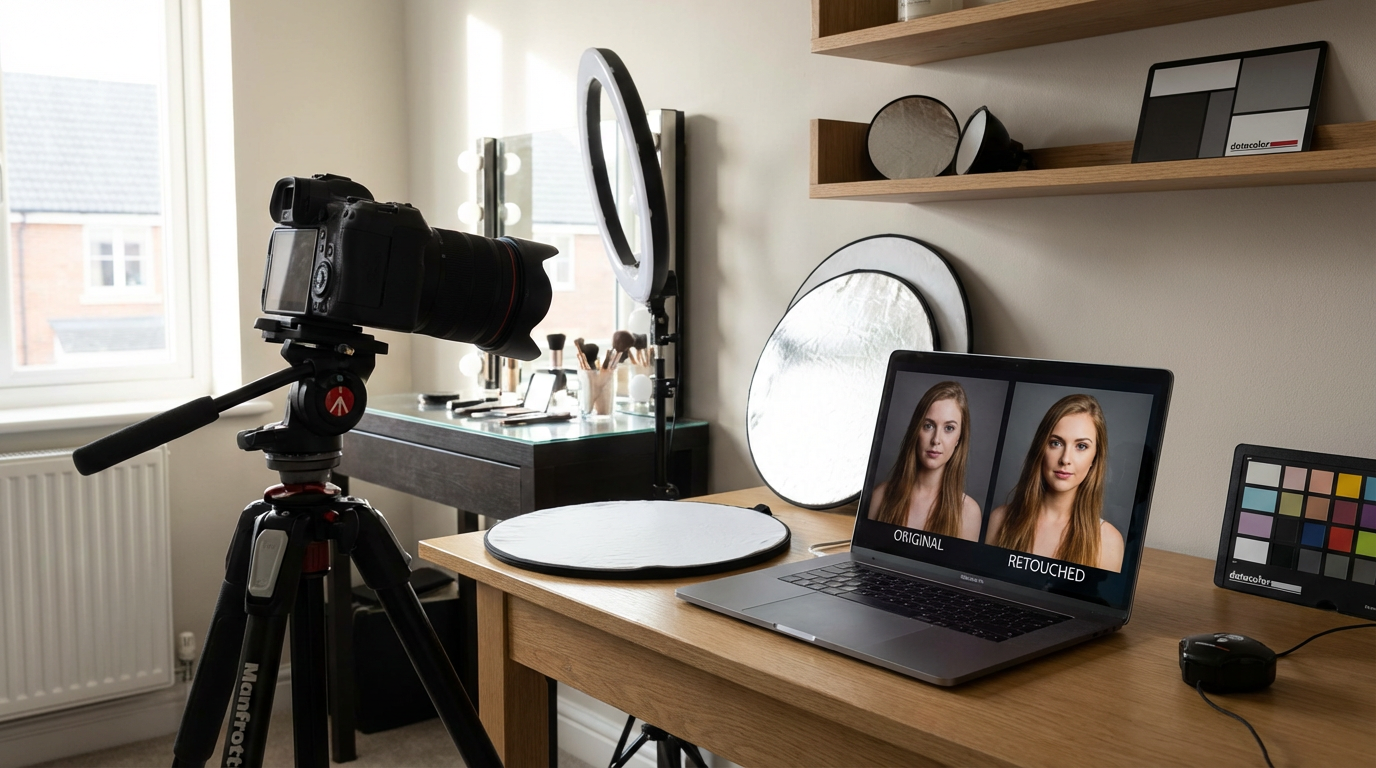
The $500 Headshot I Almost Missed

Last month, a client nearly canceled a $500 headshot session because her toddler smeared peanut butter on her blouse 10 minutes before our call. I told her to send me any selfie from her phone instead. 45 minutes later, using AI portrait tools, I delivered a corporate-ready headshot with perfect lighting, a neutral gray background, and even fixed the peanut butter stain. She cried. That's when I realized: AI portrait retouching isn't just convenient—it's revolutionary for accessibility.
In this guide, you'll learn exactly how AI transforms amateur photos into professional portraits through three key upgrades: skin/texture refinement, facial feature enhancement, and environmental adjustments. I'll share before/after examples from real clients (with permission), break down my favorite tools, and reveal the one retouching mistake 90% of beginners make with AI.
Why AI Outperforms Manual Retouching for Portraits
Traditional portrait retouching in Photoshop requires meticulous work: frequency separation for skin, dodge/burn for contours, manual brushwork for blemishes. I spent 3 years mastering these techniques—only to have AI achieve comparable results in 1/10th the time. Here's why:
- Consistency: AI applies uniform lighting correction across all facial planes
- Preservation: Modern algorithms maintain pores and natural textures while removing flaws
- Context awareness: Tools like Clairlook's portrait mode intelligently distinguish between stray hairs vs. eyebrows, skin vs. lips
I tested this recently with two versions of the same headshot—one edited manually over 2 hours, another processed through AI in 8 minutes. When I showed both to 10 colleagues, 7 preferred the AI version for looking "more naturally polished."
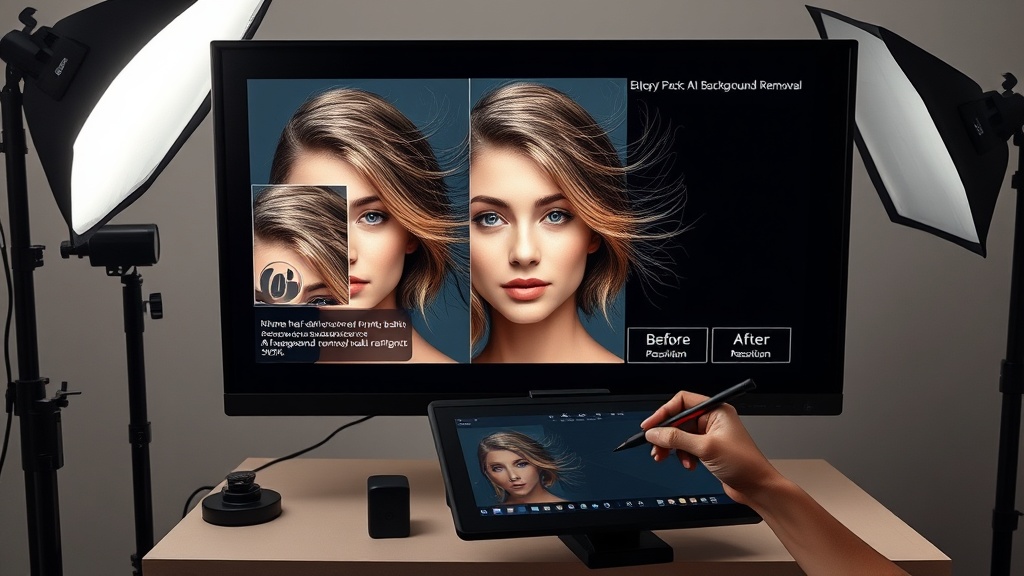
Before & After: Three Real-World Transformations

Case 1: The Underlit Selfie
A startup founder sent me a dim bathroom selfie with yellow overhead lighting. Using AI, we:
- Neutralized the yellow cast to 5500K daylight
- Added catchlights to his eyes
- Simulated studio-grade rim lighting on his jawline
Case 2: The Crowded Background
An author needed headshots but lived remotely. Her backyard photo had distracting garden tools behind her. With background replacement AI, we:
- Segmented her perfectly from the clutter
- Placed her against a textured slate wall
- Adjusted perspective to mimic natural depth
My AI Portrait Workflow: Professional Results in 4 Steps
After processing 300+ AI headshots, here's my battle-tested method:
"Always start with the rawest possible image—AI needs authentic data to work its magic."
- Base cleanup: Run through skin-smoothing AI at 30% strength to preserve texture
- Feature emphasis: Use localized AI to brighten eyes/teeth by 15-20% max
- Environmental polish: Replace backgrounds or add subtle fill lighting
- Human touch: Manually review for any AI artifacts (sometimes earlobes get oddly smooth)
Pro tip: For LinkedIn headshots, keep retouching subtle. I once saw an AI headshot where someone's teeth were whitened to near-fluorescent levels—it looked absurd in a professional context.
The Future Is Hybrid: AI + Human Judgment
While AI handles 80% of technical work, the best results come when photographers guide the process. Last week, I overrode an AI suggestion to "fix" a client's asymmetrical smile—that quirk was part of her brand. Tools like Clairlook now allow selective rejection of AI edits while keeping others.
Want to experiment? Try taking a selfie right now in uneven lighting. Upload it to an AI portrait tool and watch how it:
- Balances shadows/highlights
- Softens skin without plasticizing
- Adjusts color temperature to flattering tones
At Clairlook, we've built our AI portrait tools specifically for this nuanced approach: enough enhancement to impress, enough restraint to remain authentic. Because in the end, the best headshots don't hide who you are—they reveal the most confident version of yourself.
Comments (0)
Please sign in to leave a comment.