The Day I Ruined a Client's Headshot (And What It Taught Me About Photoshop)
I'll never forget the panic I felt when my "quick fix" turned a CEO's headshot into a wax museum replica. It was 2018, and I'd just overused the Healing Brush at 300% zoom—eliminating every pore and wrinkle until his face looked like plastic. That $1,200 mistake taught me more about Photoshop retouching than any tutorial. Today, I want to share the five tools that became my redemption arc, plus how modern AI solutions like Clairlook now handle some of these tasks in seconds.
In this guide, you'll learn professional techniques for: non-destructive skin retouching, precision corrections with layers, natural-looking dodging and burning, and workflow optimizations that save hours. These aren't textbook definitions—they're battle-tested methods from editing thousands of product photos and portraits.
1. Healing Brush: Your Digital Plastic Surgeon (Use Sparingly)
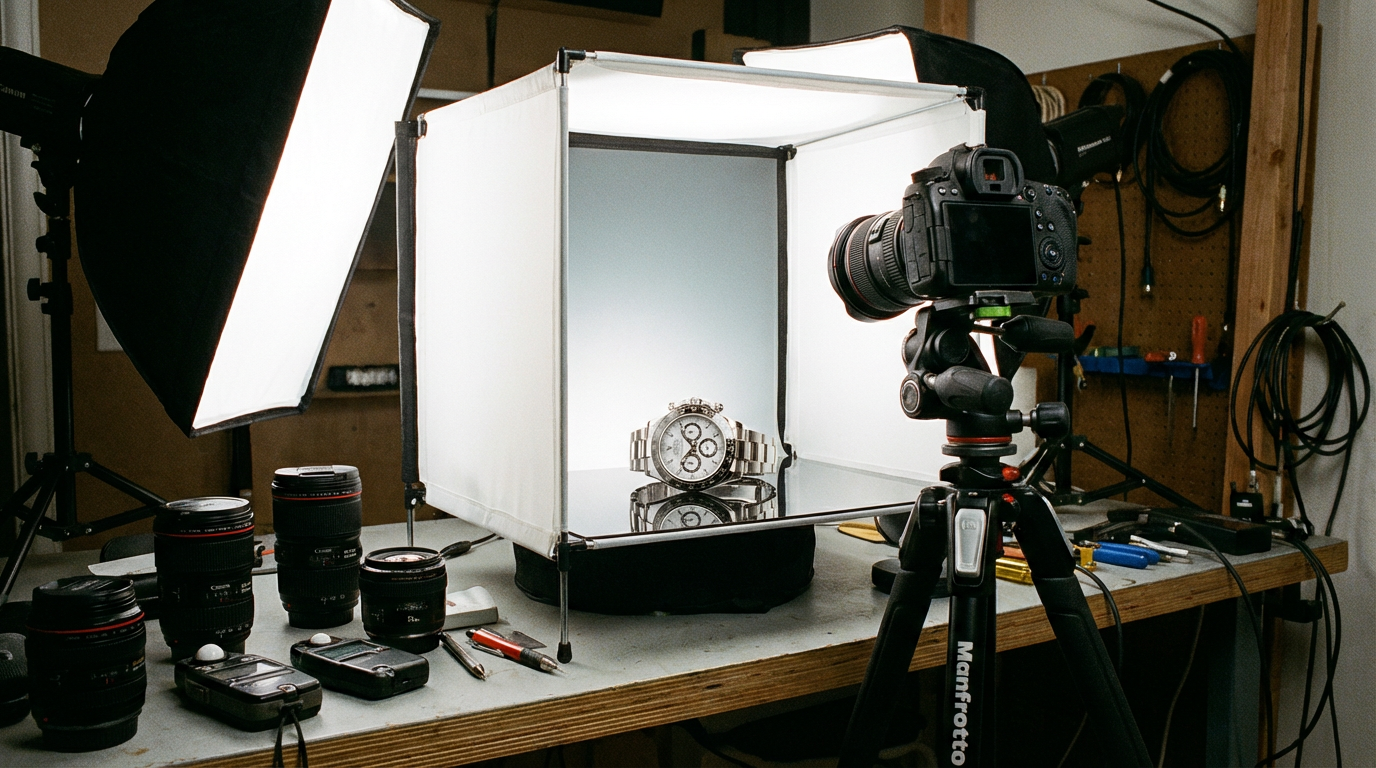
The Healing Brush remains my go-to for blemish removal, but I treat it like a scalpel rather than a sledgehammer. For product photography, I use it to eliminate dust spots on jewelry or fabric wrinkles—always sampling from nearby areas with similar texture. A pro tip? Hold Alt+Click to set your source point at the edge of the imperfection rather than directly on it.
"What I've learned: Zoom out to 50% after each Healing Brush stroke. If the edit looks obvious at that distance, you've gone too far."
I once spent three hours "perfecting" a model's skin only to realize I'd created an unnatural, airbrushed effect. Now I alternate between the Healing Brush and the newer Spot Healing Brush (set to Content-Aware) for more organic results. For e-commerce, this tool is invaluable—just last week I removed a distracting label wrinkle from a handbag shot in 20 seconds.
2. Clone Stamp: The Precision Corrector
When the client's luxury watch had a fingerprint on its face right before the shoot, the Clone Stamp saved the day. Unlike the Healing Brush, this tool copies pixels exactly—making it ideal for hard edges and patterns. I keep opacity at 85-90% for subtle blending, and frequently change my sample point to avoid repeating textures.
My favorite trick? Using a hard-edged brush at 50% flow for product retouching. This lets me rebuild missing corners of packaging or duplicate intricate details like jewelry clasps without the softness that plagues Healing Brush work. Just last month, I reconstructed a torn product tag by sampling from its undamaged side.
3. Layers & Masks: Your Editing Safety Net
Early in my career, I destroyed original image data by editing directly on the background layer. Now? Every adjustment lives on its own layer. For product photos, I create separate layers for: color corrections, spot removal, shadow enhancements, and background cleanup. This non-destructive approach saved me when a client suddenly wanted their white sneakers edited to black.
"Pro tip: Name your layers immediately ('Dust Removal - Left Shoe') or you'll waste hours later deciphering 'Layer 47 Copy 3'."
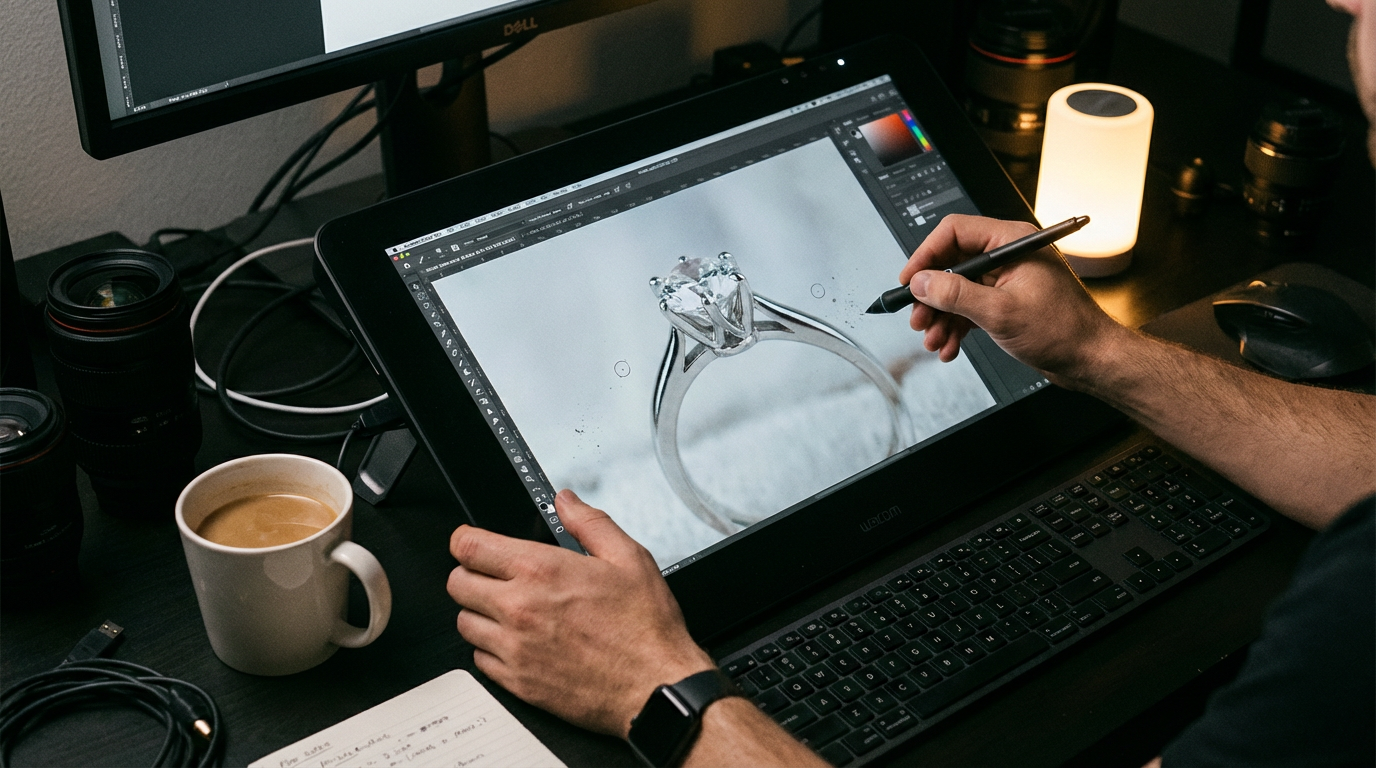
Layer masks became my secret weapon for jewelry retouching. By painting with black on a mask over my edits, I can selectively hide over-processed areas while preserving natural textures. This technique works wonders for keeping fabric folds realistic while removing stains.
4. Dodge & Burn: The Sculptor's Tools
Nothing transforms flat product photos like strategic dodging (lightening) and burning (darkening). I use a soft round brush at 5-10% opacity on a new 50% gray overlay layer to enhance dimension. For leather goods, I'll subtly burn the creases to accentuate quality; for cosmetics, I dodge the high points to make packaging shine.
I learned this the hard way after a perfume bottle looked like a cardboard cutout in my first attempt. Now I spend 15 minutes per product adding micro-contrast—it's the difference between "Amazon listing" and "magazine spread" quality. Modern AI tools can approximate this, but manual control still wins for premium brands.
5. Selective Color: The Finishing Touch
When a client's blue dress photographed slightly purple, Selective Color Adjustment Layers saved the shoot. Unlike Hue/Saturation, this tool lets you tweak specific color ranges without affecting others. I use it constantly to: neutralize yellow tones in white products, enrich black fabrics without crushing details, and correct color casts from studio lighting.
For e-commerce, I create presets for common corrections—like "White Balance for Jewelry" or "Denim Blue Booster." Last quarter, this cut my retouching time per clothing item by 40%. While AI background removers handle the heavy lifting now, color perfection still requires human finesse.
My Modern Retouching Workflow (Human + AI)
Today, my process blends these Photoshop tools with AI assistants like Clairlook. I'll use AI for initial background removal and rough cleanup, then switch to Photoshop for precision work. The combo cuts project times in half while preserving creative control. For high-volume e-commerce, I'll batch-process base corrections in AI tools before doing final tweaks manually.
Remember: Tools don't replace skill—they amplify it. Whether you're retouching 10 products or 10,000, mastering these five Photoshop essentials will give you an edge no algorithm can match. And when you need to scale? That's when solutions like Clairlook become your secret weapon for delivering pro results at startup speed.
Comments (0)
Please sign in to leave a comment.