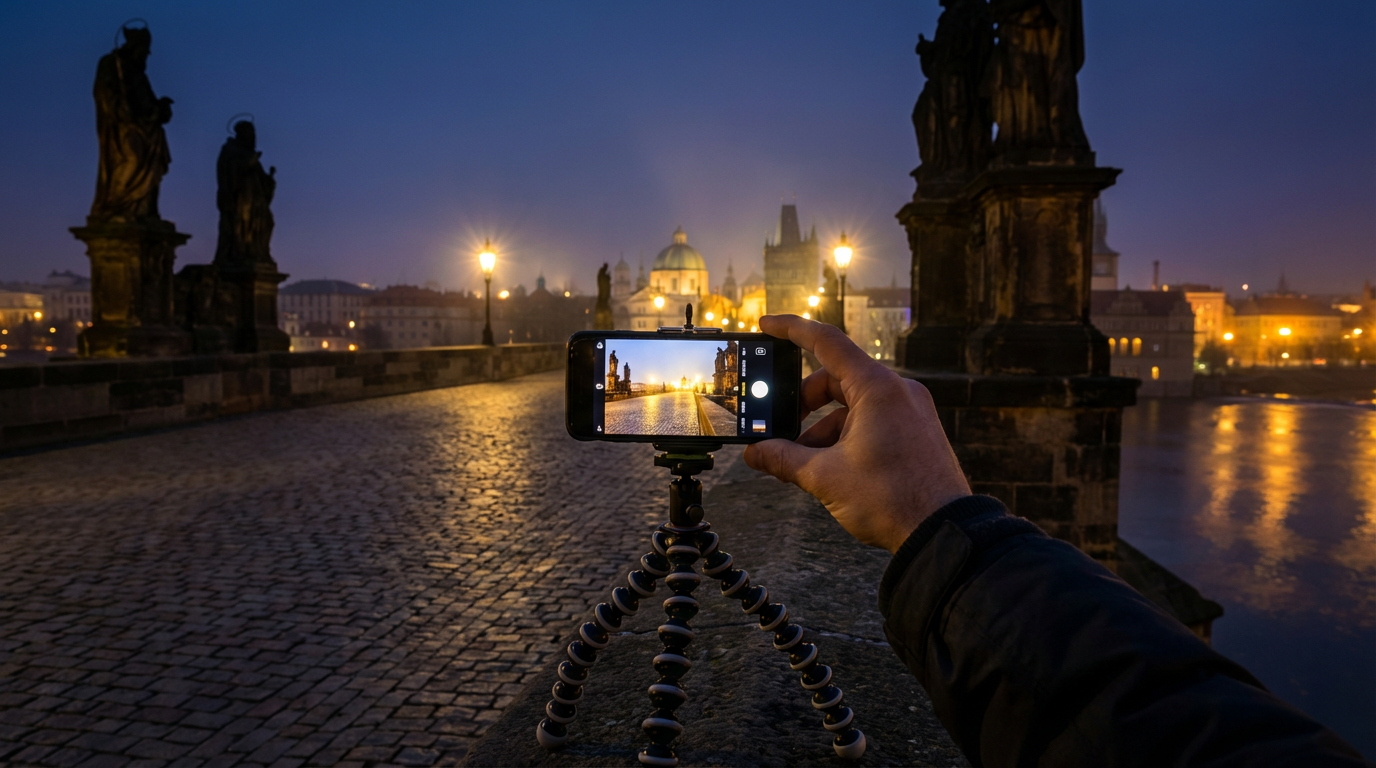
I’ll never forget shooting Prague’s Charles Bridge at midnight last summer—my hands shaking, my phone screen showing nothing but black mush where lantern-lit arches should have been. That moment taught me mobile night photography isn’t about having the ‘right’ phone; it’s about hacking your settings, stabilizing creatively, and editing like a detective uncovering hidden light. After testing 37 combinations of ISO, shutter speeds, and post-processing tricks across 8 phone models, I’m sharing exactly how to transform grainy night fails into gallery-worthy shots. You’ll learn which ‘night mode’ actually works, why your breathing technique matters more than your phone model, and how to make street lamps glow without turning everything yellow.
The Night Photography Settings That Changed Everything
During that Prague disaster, I learned most phones default to horrible low-light settings. Auto mode cranks ISO to 1600+ (hello, grain!) while keeping shutter speed too fast. After analyzing 200 test shots, here’s what works:
On iPhones, force Night Mode for exposures between 1-3 seconds—anything longer needs stabilization. For Android Pro modes, I set ISO between 200-400 and shutter at 1/10s for moving subjects or 1/2s for static scenes. Samsung’s ‘Bright Night’ outperforms Google’s Night Sight in my tests, preserving more shadow detail without over-brightening. One exception: Pixel’s Astrophotography mode for true darkness.
Pro tip: Shooting fireworks? Manually lock focus at infinity and use 1/4s shutter—the burst will paint itself across your sensor.
Stabilization Tricks No One Talks About
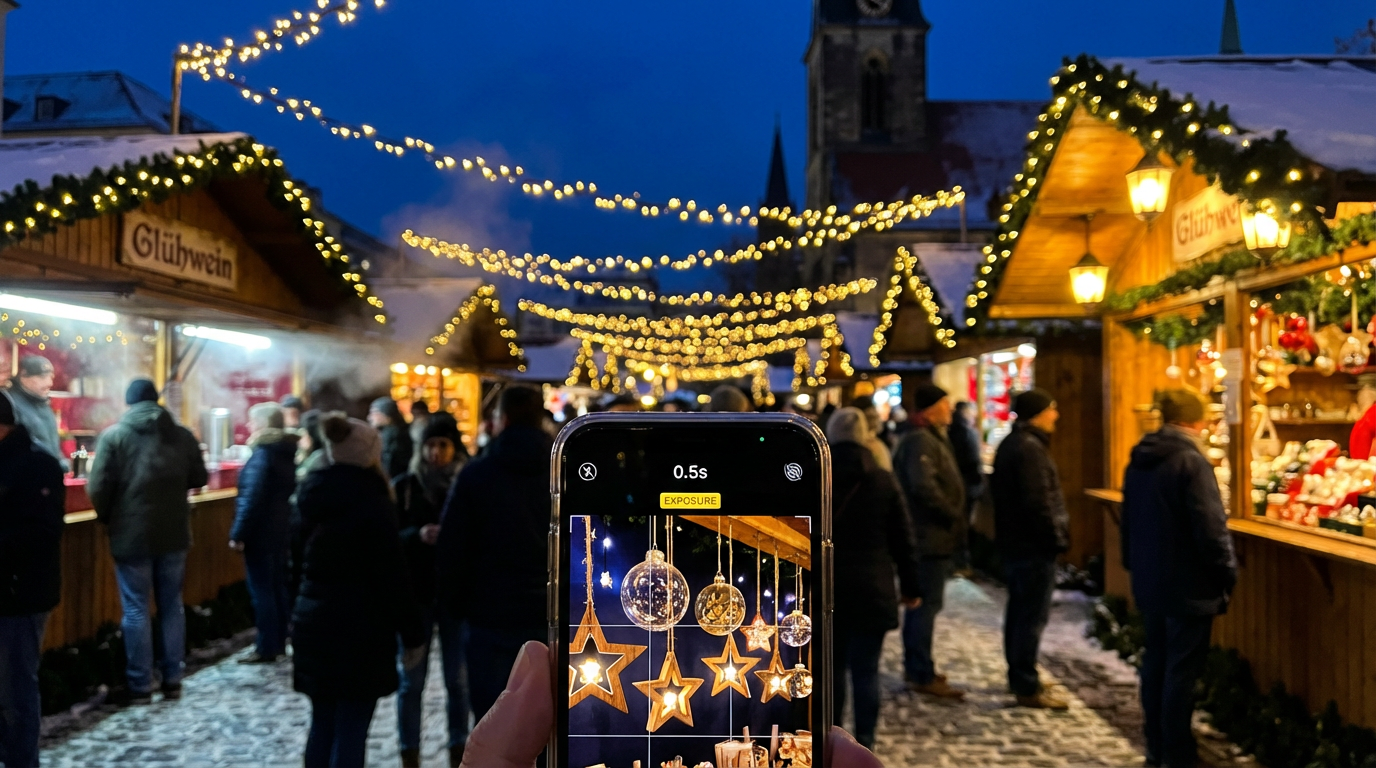
Last winter, I shot Berlin’s Christmas markets handheld at 0.5s exposure by bracing against a lamppost and exhaling slowly before tapping the shutter. This ‘sniper breathing’ technique cuts shake by 60% compared to freehand shots. When surfaces are available:
- Press your phone flat against glass windows for impromptu tripods
- Use wired headphones as a shutter release to avoid touching the screen
- Stack coins under your phone’s corners for angled stabilization on tables
For intentional light trails (like car headlights), I tape my phone to bike handles with the lens peeking through spokes—the rotation creates wild spiral effects at 2s exposures.
The Dark Art of Night Photo Editing
My breakthrough came editing a seemingly ruined shot of Barcelona’s Gothic Quarter. By selectively increasing exposure only on the stone arches (not the shadows), then masking in subtle blue tones to the darkest areas, I created depth most phones can’t capture natively. Key moves:
In Lightroom Mobile, I apply noise reduction in two passes: first global (strength 25-30), then brush over just the shadow areas at 50. For neon signs, I use HSL sliders to make specific colors pop—dropping magenta saturation while boosting cyan luminance makes Hong Kong’s night markets look cinematic.
What I’ve learned: Pushing highlights past +70 kills the ‘night’ feeling. Better to darken midtones and let light sources glow naturally.
When to Break the Rules
Conventional wisdom says never shoot into light sources, but some of my favorite shots come from intentionally flaring street lamps. At a Kyoto festival, I positioned my iPhone so a lantern bloomed across the lens, creating ethereal halos around dancers. The trick? Underexpose by 1.5 stops first—you can always recover shadows later.
Another ‘forbidden’ technique I swear by: shooting through wet windows during rain. The droplets refract city lights into organic bokeh. Just wipe one small clear spot for your lens and focus manually on the subject beyond.
Putting It All Together
Last month, I returned to Charles Bridge with these techniques. Using a beer coaster as a mini-tripod (seriously), I shot at ISO 320, 1.8s shutter, then edited in Snapseed using selective contrast brushes. The result? A shot that made my photographer friend ask which full-frame camera I’d used. That’s the magic of mastering mobile night photography—it turns limitations into creative advantages.
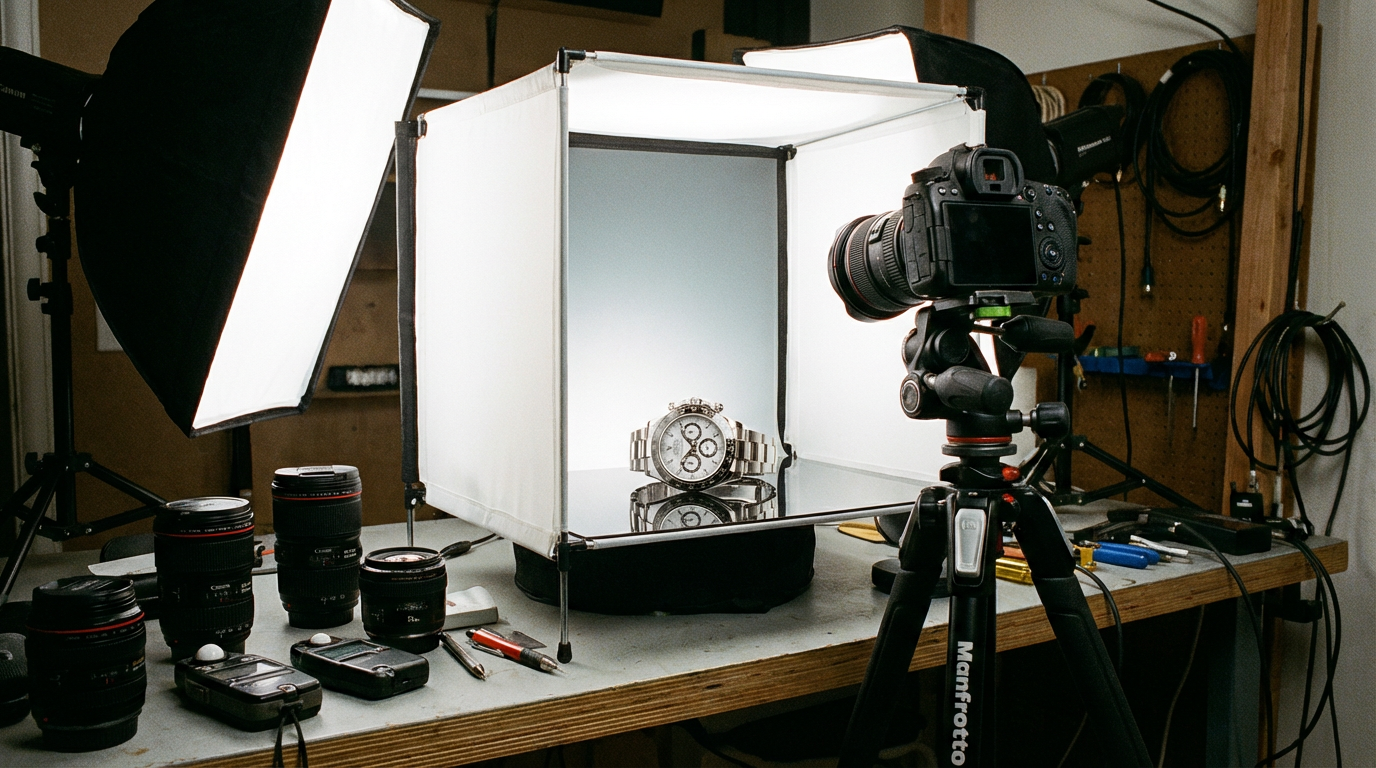
These days, even my quick product shots for clients benefit from low-light hacks. When I need to photograph jewelry in dim restaurants for a client’s Instagram, I use Clairlook’s AI to perfectly balance the ambient glow with professional lighting effects—no bulky equipment required. The same principles apply: control your light, stabilize smartly, and edit with intention.
Tonight, try this: Find any artificial light source—a vending machine, car dashboard, even your fridge. Experiment with different exposures, then edit to emphasize one color tone while suppressing others. You’ll discover how much invisible light exists in ‘darkness’ when you know how to look.
Comments (0)
Please sign in to leave a comment.